
Are you looking to achieve a flawless epoxy floor coating that not only looks fantastic but also lasts for years? The key to a successful epoxy flooring project lies in the crucial stage known as epoxy surface preparation. In this blog post, we will delve into the essential steps and techniques of epoxy surface preparation, ensuring a strong and durable bond between the epoxy and your substrate.
Why Epoxy Surface Preparation Matters
Before we dive into the specifics of epoxy surface preparation, let’s understand why it’s so crucial to the success of your flooring project. Proper preparation sets the foundation for a seamless, long-lasting epoxy coating. Neglecting this step can lead to adhesion issues, premature coating failure, and a less-than-desirable finish.
Step 1: Surface Inspection
The first step in the surface preparation process involves a thorough inspection of the substrate. Identify any cracks, holes, or imperfections on the surface. These need to be addressed before proceeding further. Additionally, check for any contaminants such as oil, grease, or dirt that may affect adhesion.
Step 2: Surface Cleaning
Cleaning the surface is an essential part of epoxy surface preparation. Remove all debris, dust, and contaminants from the substrate. This can be done using various methods, including sweeping, vacuuming, and pressure washing. It’s crucial to ensure the surface is completely clean and free from any residues.
Step 3: Essential Epoxy Surface Preparation Techniques
Any identified cracks, holes, or imperfections must be repaired before applying epoxy. Use appropriate patching compounds to fill in these areas. Ensure that the patched areas are smooth and level with the rest of the surface.
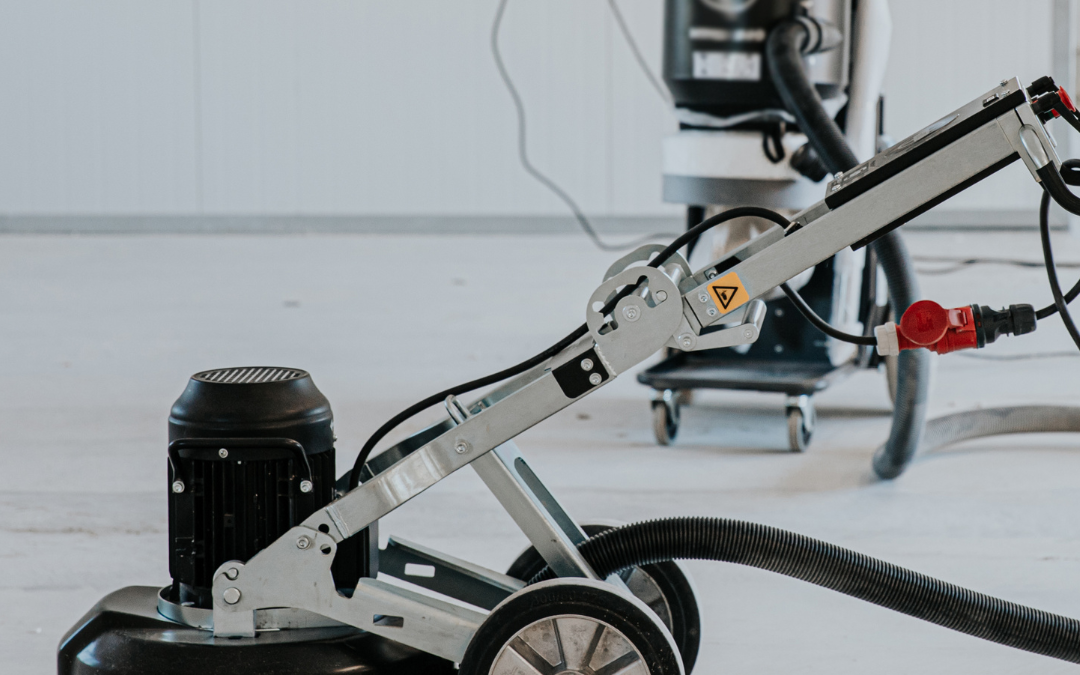
Step 4: Mastering the Art of Epoxy Surface Preparation
To promote adhesion, you may need to etch or grind the surface. This step helps open up the pores of the substrate, allowing the epoxy to penetrate and bond effectively. The method you choose depends on the type of substrate and the epoxy system you’re using.
Step 5: Moisture Testing
Moisture can be a significant issue when applying epoxy coatings. Conduct a moisture test to ensure the substrate’s moisture levels are within the acceptable range for your epoxy product. Excessive moisture can lead to adhesion problems and coating failure.
Step 6: Primer Application
Priming is often a necessary step in epoxy surface preparation. The primer enhances adhesion and creates a strong bond between the substrate and the epoxy coating. Apply the primer as per the manufacturer’s instructions.
Step 7: Mixing and Application
Once the surface is properly prepared, it’s time to mix and apply the epoxy coating. Follow the manufacturer’s guidelines for mixing ratios and application techniques. Work systematically to ensure even coverage and a smooth finish.
By following these essential steps in preparation, you can significantly improve the quality and longevity of your epoxy flooring. Proper preparation ensures that your coating adheres effectively, creating a beautiful and durable surface for both residential and commercial spaces.
In conclusion, don’t underestimate the importance of epoxy surface preparation in your flooring projects. It’s the foundation upon which the success of your epoxy coating relies. Take the time to inspect, clean, repair, and prime your substrate, and you’ll enjoy a stunning epoxy floor that stands the test of time.